Getting started with Dev Containers using Visual Studio Code & WSL
Dev containers are awesome! The idea behind Dev Containers is defining your development environment alongside your codebase. Dev containers can help onboard team members onto projects much quicker, preventing them from having to install the developer tools and runtimes. Beyond team usage, Dev Containers can also help with individual projects. They prevent cluttering up your local machine and they separate version and authentication contexts. In addition, you can even use Dev Containers in CI, ensuring that your pipelines use the exact same development environment as your developers. You will never hear “It worked on my machine” again!
I myself like to never install developer tools locally if I can prevent it and always work with remote git repositories or cloud services. This way I will never lose data and can get started on projects I put on the shelf a while ago much quicker. I am really passionate about Dev Containers and have been using them for a while.
For example, this blog is created using Jekyll - a Ruby based static site generator and blogging engine. In the repository for the blog, I included a Dev Container with a Jeykll configuration and Visual Studio Code extensions that allow me to work with Markdown, format files with Prettier and work with the Liquid templates that Jekyll uses. This way I can write blog posts from anywhere on any device easily without setting up a Ruby development environment.
I find that Dev Containers are not as popular as I would like, that’s why I wrote this blog post to help you get started. I will share with you a pragmatic guide to getting started with Dev Containers in Visual Studio Code, based on real world experience. Rather than going into too much details about the specification - you can easily find these online already at https://containers.dev and I would highly recommend reading through it - I will just show you how to get started running your first Dev Container.
This guide will focus on using the native Docker engine on an Ubuntu distribution in WSL (2).
💡 Side note: Why don’t we use Docker Desktop on Windows with a WSL back-end as an engine for Dev Containers? There are a few reasons: Docker on Linux uses native tooling, which is more performant and stable; Developer tooling is built for Linux most of the time leading to a better experience and less context switching; Docker Desktop is not free for commercial organisations above 250 employees or $10 million in annual revenue which makes it not fit for my purposes.
Setting up WSL
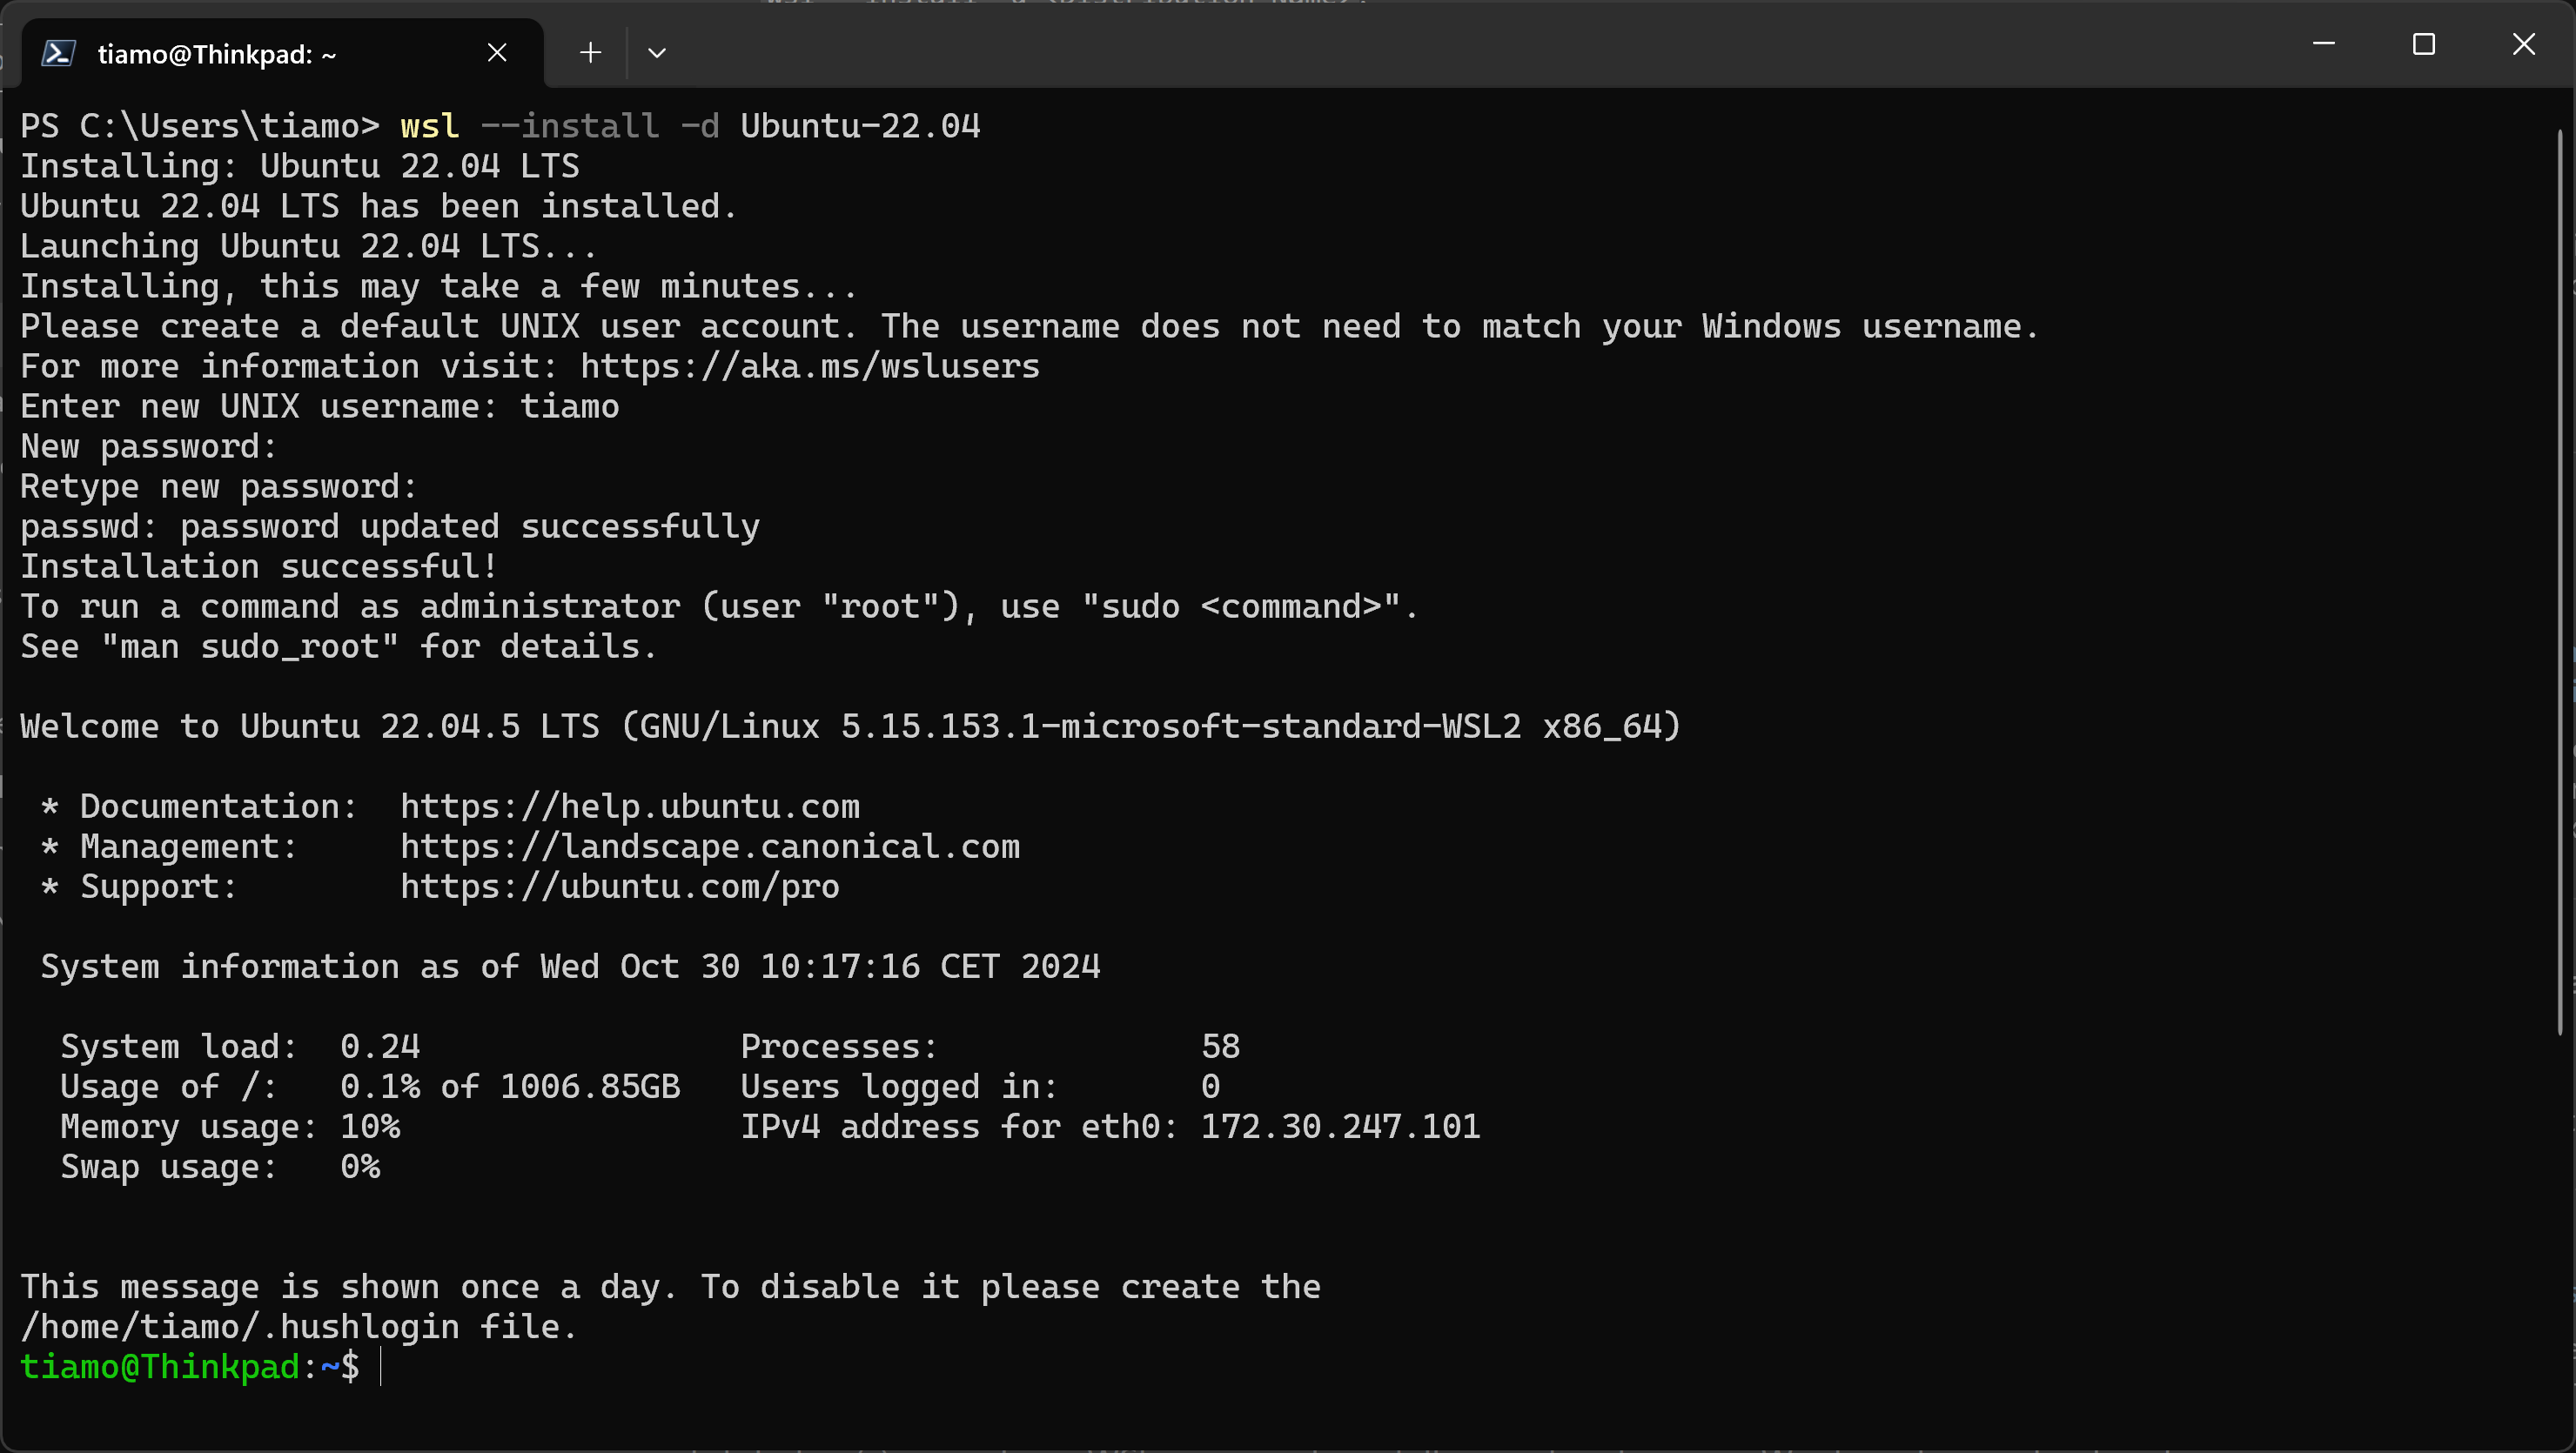
- Install WSL and Ubuntu, run:
wsl --install -d Ubuntuin an elevated PowerShell sessions. For example, using the Terminal app. -
After installation, you will be prompted to set up your account.
 Installation of WSL and account set-up
 -
Install Docker Engine on Ubuntu with apt. Be sure to follow the latest instructions.
-
Ensure that system support is enabled, check if the
/etc/wsl.conffile contains the following lines:[boot] systemd=true - Add your user to the Docker group, run:
sudo usermod -aG docker $USER.
Now you are done setting up WSL, the installation guide recommends to reboot your machine so be sure to reboot!
Setting up Visual Studio Code
- Install the Dev Containers and WSL extensions in Visual Studio Code
-
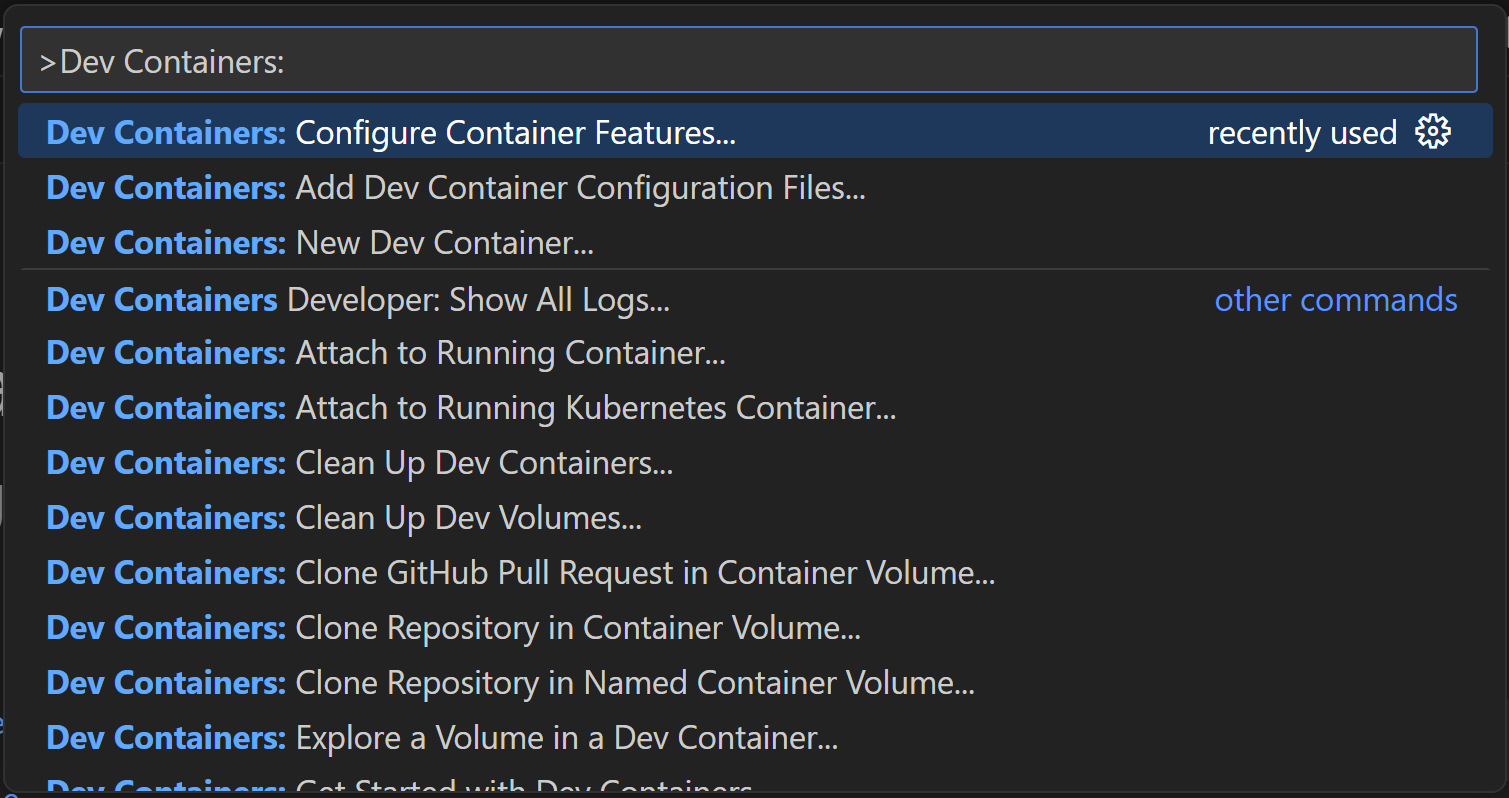
Open the Command Palette (CTRL+P), select
>Dev Containers: Add Dev Container Configuration Files, go through the widget to configure your own Dev Container OR create a .devcontainer directory and .use my configuration for a Jekyll blog below. -
Re-open the repository in a Dev Container using the Command Palette
>Dev Containers: Re-open in Container Dev Containers Command Palette
💡 Side note: If you have cloned your git repository on a Windows system, you might see that all files in the repository have been marked as modified now that you have them open in Linux. This happens due to a mismatch in the line ending characters between Windows and Linux. I like to solve this by adding a .gitattributes file to my repository that automatically defines the line ending character. For more information, see these tips & tricks.
Dev Container Usage
There are a few things to consider when using a Dev Container. The devcontainer.json file is the full configuration of the Dev Container and contains a fully reproducable development environment; this is a crucial concept to grasp. Thus, we want to include all extensions and tools we need to work on the repository in this file. That means that when you instll a Visual Studio Code extension or a CLI tool you need to add this in this file.
Extensions
When installing extensions to Visual Studio Code in a Dev Container, make sure to right-click the extension and click “Add to devcontainer.json” to easily add this extension to the devcontainer.json configuration. This will add the extension to the customizations.vscode.extensions property.
Features (CLI tools)
When installing CLI tools, make sure to use the features property. A list of features can be found on the Dev Containers website. These include common CLI tools like Terraform or the Azure CLI. An example features block for these tools would look like this:
	"features": {
		"ghcr.io/devcontainers/features/terraform:1": {},
		"ghcr.io/devcontainers/features/azure-cli:1": {}
	},
Post Create
Perform any additional set-up for tools in the postCreateCommand property. In the Jekyll example included above, I install Ruby using rvm and install dependencies with bundle. That means that any developer opening the Dev Container is immediately ready to run bundle exec jekyll serve to run the blog application.
And that concludes my guide to using Dev Containers using Visual Studio Code and WSL! I hope you learned something and I hope you are now as exicted as I am about it. The most important thing that now remains is to go forward and use them, then spread the word about it! Feel free to let me know your thoughts in the comments.